Smart Mailboxes and the Sensors That Make Drone Delivery Work
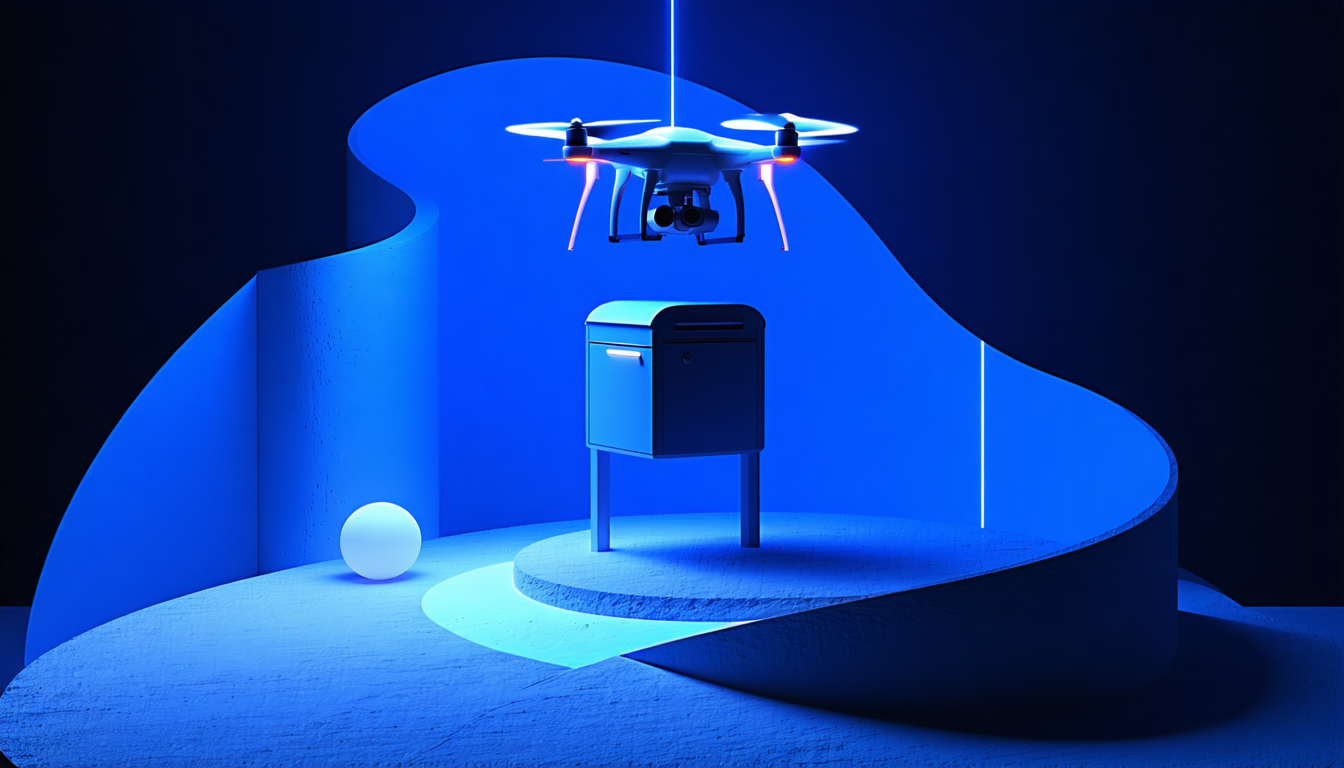
A delivery drone hovers 12 meters above a suburban cul-de-sac, battery at 34%, holding a 1.8kg parcel it can’t safely release. Why? The homeowner’s mailbox is a passive metal tube. The drone sees no landing beacon, gets no lid-open handshake, has no way to confirm the box is empty, and has 90 seconds before it has to abort to base.
That’s the bottleneck in last-mile drone delivery. The aircraft is solved, the airspace rules are getting there, and the weakest link sits on the ground.
A smart mailbox fixes that, but only if you design it as a sensor-rich handoff node rather than a fancy locker. The parcel is the asset you’re tracking; the mailbox witnesses the handoff and produces cryptographic proof it happened.
Here’s how to build one that actually works for drone delivery, what sensors it needs, and where the real costs hide.
What a Drone-Ready Mailbox Must Actually Do
A smart parcel locker for human couriers has one job: open for an authenticated user. A drone-ready mailbox has five:
- Signal availability to an inbound drone (armed, empty, weather OK)
- Guide precision landing or release to within 10-20cm
- Open and close securely on an authenticated, signed command
- Confirm parcel deposit and condition (weight, ID, temperature)
- Notify the recipient and maintain a custody log the carrier can audit
Miss any one and you get a failure mode the drone can’t recover from in flight, which is why a passive mailbox handles zero of these and a typical smart locker handles maybe two.
The Four-Layer Sensor Stack
Think of the box as four stacked subsystems, each witnessing a different slice of the handoff.
        ___[ Fiducial + ToF ]___
       /                        \
      |   Layer 1: Guidance      |
      |--------------------------|
      |   Lid + Lock + Tamper    |  Layer 2
      |--------------------------|
      |   Load cell / RFID / T&H |  Layer 3
      |--------------------------|
      |   MCU / Cell / SecElem   |  Layer 4
       \________________________/
              [ Solar + Batt ]
Layer 1: Approach and Landing Guidance
GPS alone gets a drone to roughly 2-5 meters. That’s not good enough for a 40cm target. You need a local positioning aid.
Options, in rough order of cost and accuracy: an RTK-GPS base station (sub-5cm, expensive), a UWB (ultra-wideband) anchor on the box paired with a tag on the drone (10-30cm, ~$40 in parts), or a BLE beacon for coarse guidance plus optical for the terminal phase. Most pilots land on UWB plus a printed fiducial marker (ArUco or AprilTag) on the lid that the drone’s downward camera locks onto below 3 meters.
A VL53L5CX class time-of-flight sensor on the lid handles final descent clearance and aborts if something (a cat, a kid) enters the drop zone. Add an anemometer and rain sensor so the box can veto a drop in 30+ km/h gusts.
Layer 2: Access Control
The lid is where liability lives. A 12V solenoid or motorized latch with a Hall-effect sensor confirms position (open, closed, jammed). A secure element like the ATECC608B stores the box’s private key and signs every state change, so the drone and the cloud can verify the lid actually moved.
Short-range auth to the drone happens over BLE. The drone presents a signed delivery manifest; the box validates the signature, checks the parcel ID against its expected-drops list, and only then arms the lock. A tamper switch on the enclosure plus a small accelerometer detect forced entry and shock events between deliveries. For a deeper look at why the secure element matters more than the radio, the device security documentation is worth a read.
Layer 3: Parcel Presence and Condition
You need to prove a parcel (the right parcel) actually landed inside. Three sensors, composed:
- A load cell under the floor plate (5kg range, HX711 ADC, ~$6) catches weight delta at drop.
- A break-beam or downward-facing ToF sensor captures the deposit event timestamp.
- An RFID/NFC reader (PN5180 for HF, a UHF module if the carrier tags at UHF) reads the parcel’s ID as it settles.
For cold-chain or pharmacy drops, add an SHT4x temperature/humidity sensor. Shock and orientation data are better logged on the parcel tag itself, since the parcel’s history matters across origin, transit, drop, and retrieval, not just while it’s in the box.
Layer 4: Connectivity and Telemetry
Cellular LTE-M or NB-IoT is the right primary link: low power, carrier-backed, no Wi-Fi credential hassles per install. The nRF9160 SiP is the default reference (integrated modem, Arm Cortex-M33, hardware crypto). Wi-Fi as a fallback for dense urban sites.
The edge MCU runs a local state machine so the box can accept a drop even if the network blips. Buffer events locally, flush to the cloud over MQTT or CoAP when connectivity returns. Build OTA firmware updates and certificate rotation in from day one; you will not be climbing onto 400 rooftops to re-flash devices.
Chain of Custody: the Parcel Is the Asset
Three events need to be cryptographically verifiable. Get these right and the rest of the system is bookkeeping.
Event 1, Arrival. The drone broadcasts a signed manifest (parcel ID, weight expected, recipient hash, timestamp). The box validates the signature against the carrier’s public key, checks the ID matches an expected drop, and returns a signed ACK with its own state (armed, empty, weather OK).
Event 2, Drop. At release, the box composes a deposit receipt from three witnesses: weight delta from the load cell, RFID read of the parcel tag, and lid-close confirmation from the Hall sensor. All three must agree within a 5-second window. The receipt is signed by the secure element and pushed to the cloud.
Event 3, Retrieval. The recipient authenticates via app, PIN, or BLE. The lid opens, weight returns to zero, the box signs a retrieval receipt, and custody transfers.
[Drone] --signed manifest--> [Box]
   |                           |
   |                      validate ID
   v                           |
 descend <---ACK/clear---------+
   |
 release --> weight+RFID+lid --> [Deposit Receipt]
                                       |
                                       v
                              [Cloud: Parcel Ledger]
                                       |
                              [Recipient App: retrieve]
The parcel tag carries the continuous history; the box contributes timestamped witness data at the handoff boundary. Insurance and liability shift at the signed deposit receipt, so that signature has to hold up without dispute.
How to Build It: a Practical Path
Step 1: Site survey. Airspace class (Part 107 vs. Part 135 waiver zones), obstacle clearance (a 5m cone from the lid to open sky is a reasonable starting point), LTE RSRP better than -110 dBm, and power: grid, PoE, or solar. Rule out the site before you order hardware.
Step 2: Pick the form factor. Rooftop pad with a hinged hatch for multifamily, ground pedestal for single-family, balcony-mount for mid-rise. Developers: specify conduit, power, and a sky-facing cutout at design phase. Retrofitting a pedestal into a finished courtyard costs 4-6x the new-build number.
Step 3: Reference BOM. Defensible cost range for a production-intent unit is $300-450 in parts at 1,000-unit volumes, before enclosure tooling and assembly.
Component            | Example Part        | ~Cost
---------------------|---------------------|-------
MCU + cellular       | nRF9160 SiP         | $35
Secure element       | ATECC608B           | $1
ToF sensor           | VL53L5CX            | $8
Load cell + ADC      | 5kg + HX711         | $6
RFID reader          | PN5180              | $12
Lock + Hall sensor   | 12V solenoid        | $25
Enclosure (IP65)     | Custom alu/poly     | $80
Solar + battery      | 20W + 20Ah LiFePO4  | $120
UWB anchor           | DWM3000             | $18
Misc (wx, tamper)    |                     | $15
Enclosure, power, and edge compute together drive roughly 70% of total cost, so that’s where you fight for margin.
Step 4: Firmware state machine. Keep it boring.
IDLE -> ARMED -> LANDING -> OPEN -> DEPOSIT
  ^                                    |
  |                                    v
RETRIEVED <- NOTIFIED <- SEALED <------+
Each transition produces a signed event. If you’re building on Zephyr or a Nordic stack, the terrestrial device SDK covers the packet format and provisioning flow you’ll want for the telemetry side.
Step 5: Pilot metrics. Track drop success rate (target >97%), false-deposit rate (<0.5%), mean time to retrieval, custody-break incidents, and power budget vs. solar yield by season. Don’t optimize sensors before you have 500 real drops of data.
Compliance and Interop Notes
The ground node isn’t regulated the way the aircraft is, but it still matters. FAA Remote ID (14 CFR Part 89) applies to the drone, not the box, though your custody log should correlate to the drone’s broadcast session for audit purposes.
ASTM F38 is still standardizing drone delivery handoff, so design for protocol abstraction. Put Wing, Zipline, Amazon Prime Air, and Matternet handshakes behind a middleware layer rather than hard-coding one.
Valqari holds patents around drone-specific mailbox geometry and the vertical-drop mechanism (US10822081 and related). You can build a horizontal-lid design in-house; the sensor stack above is not encumbered. DroneDek’s and Amazon’s landing-pad concepts are similar in logic, different in IP specifics. Get a patent opinion before you tool enclosures.
Data residency matters for custody logs. EU drops need GDPR-compliant storage; pharmacy drops in the US pull in HIPAA-adjacent handling depending on metadata.
Pilot Before You Scale
Map your three custody events on a whiteboard before you spec a single part. For each event, list the minimum sensors that can witness it with cryptographic signing. If a sensor doesn’t feed a signed event or a safety abort, cut it.
Pilot with 10-20 boxes and one carrier partner before you scale. The sensor stack is the easy part. The firmware state machine, the certificate rotation, and the carrier-specific handshake quirks are where the first 90 days of real operations will teach you what the datasheets can’t.
Hubble Network provides satellite-backed Bluetooth connectivity for low-power devices in the field, so custody events can be signed and reported even where cellular coverage fails. See how it works →